Professional Ship Simulator Docking and Mooring Guide
Bank effect, line tension, and the last two ship-lengths that decide the berth.
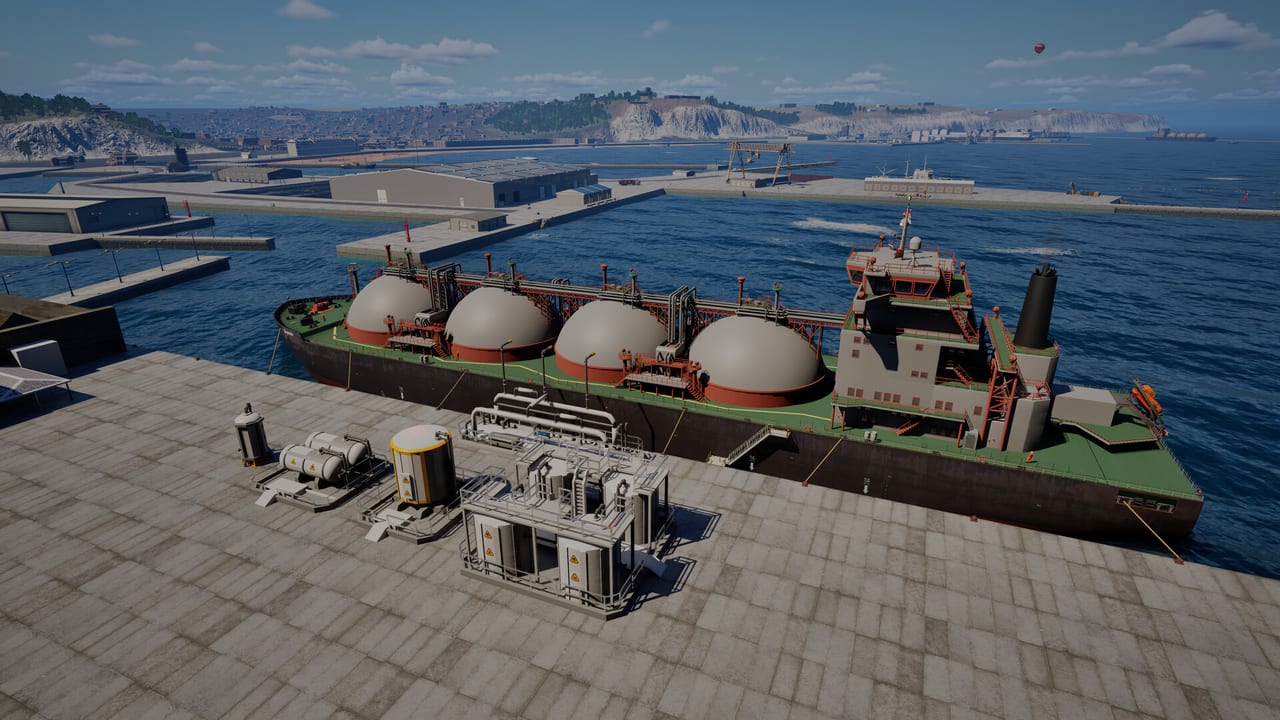
Most Professional Ship Simulator sessions are won or lost inside a harbor. Open-water autopilot is forgiving. A quay is not. This page covers leaving and arriving: the official undocking footage, plus the mooring systems the store page actually simulates — anchors, line tension, fenders, and hull damage. Read getting started if you still fumble the cold start, and controls if thruster binds are the blocker.
Steam Early Access is scheduled for 16 September 2026. Harbor layouts in the demo already teach the habits you will need on Rügen and Dover. Practise them on a beginner ship before you bring a commercial hull into a box-shaped basin.
Leaving the berth without drama
Official undocking clips show a slow, boring sequence, which is the correct sequence:
- Finish the power-up. Steering gear that is still on batteries-only will surprise you.
- Check wind and current on the instruments. Note which way the bow will want to fall.
- Clear passengers, cranes, and gangways if the scenario spawned them.
- Take in lines in a planned order. Do not keep a spring tight while you add ahead.
- Use bow and stern thrusters to create a gap. Walk the ship sideways until you have room to pivot.
- Add dead-slow ahead only when the hull is parallel and the stern will not clip the quay or a dolphin.
- Centre thrusters, watch bank effect as you enter the channel, and keep a stern camera for the first ship-length.
Bank effect is hydrodynamic suction toward a nearby wall or shoal. In a narrow German canal or a Dover lock approach it will yaw you with no rudder input. Counter early with a little opposite helm and a thruster nudge, not with a handful of RPM. Propeller wheel effect (walk) adds another yaw as you change telegraph. Learn which way your ship walks in astern — tugs and singlescrew merchants disagree.
The approach: energy, angle, and cameras
A good approach is a planned loss of energy. Come in slightly short of the berth rather than carrying way you cannot dump. Use the chart (M) to line up the last heading. Autopilot can deliver you to the breakwater; it should be off before the last few cables. Details on heading hold live in how to play.
Set cameras before you need them: bow for the landing mark, stern for the quarter, maybe a wing for the gap to the fenders. On large ships the store page mentions wing control stations — use them. A locked bridge view on a cruise ship hides the entire bow.
Tugs are available in career and in some scenarios. Calling them costs XP, which is the sim’s way of saying “you could have done this yourself.” Use them when the wind is on the beam and the hull is an LNG tanker, not when a pilot boat could have walked in on thrusters. If you do take tugs, brief yourself: which shoulder, when to slacken, when you want them to stop pushing.
Anchors are not only for open-water stops. A backed anchor can shorten a poorly judged approach. Do not drop it while you still have significant way unless the scenario is already a rescue. Anchor drafting is simulated; the ship will not pin itself like a video-game handbrake.
Lines, fenders, and damage
Mooring and tow lines can part at high tension. That is not flavour text. If you come in hot and throw a line as a brake, you will watch it go. Put fenders where the contact will actually happen. Then run lines in a realistic pattern: headlines, stern lines, springs. Tighten gradually. The cargo and mooring panels exist so you can see load, not so you can ignore it.
Hull damage and flooding follow a bad kiss. Bilge pumps and watertight doors are on the systems list for a reason. If you hole something, get to a dry dock harbor instead of starting the next cargo run. Career XP already hates groundings; flooding is how the lesson becomes expensive.
Different jobs change the docking problem. A workboat landing on a wind-farm transfer is a different geometry than a ferry slipping a linkspan or a bulk carrier on a Stralsund-style berth. After this page, pick a mission type and practise that geometry ten times in clear weather. Then add fog.
For map-specific notes — which of the forty-plus harbors are actually mission-capable, and which basins punish long ships — use the maps guide. For a visual of a harbor departure, watch the undocking clip mid-article, then go repeat it at dead-slow until it is boring.
Frequently Asked Questions
Quick answers before you take the helm.
Should I use autopilot to dock?
No. Use it for the approach, then helm, thrusters, and cameras for the last ship-lengths.
Why does the ship drift into the quay with no throttle?
Wind, current, and bank effect. Counter with thrusters early; adding ahead often makes the hit worse.
Do lines stop the ship automatically?
No. Tension is simulated and lines can break. They hold a stopped ship; they are not an emergency brake.
When should I call a tug?
When wind, current, and ship size exceed your thruster margin. Expect an XP penalty for the help.